Friday, March 18, 2011

Happy St. Patrick's Day

I am about as Irish as they come. And I have both of my grandmothers to thank for that. Mary Ryan and Claire Moriarty ensured that March 17th would always be a special day for my family and me. And if being Irish was not enough, I of course went to Notre Dame, the most Irish Catholic school in the country, own more green t-shirts than the leprechaun, can do the jig, and scream "Go Irish" more days of the year than not. It's in my blood, it's in my heart, it's who I am.

With all that though, I somehow have never come to appreciate corned beef. Year after year, I stick my nose up at that pink colored meat, never getting too excited for any St. Patty's Day celebration knowing that I will spend the majority of the event hungry and praying that a salad will be served alongside my least favorite food. I really do not know where my dislike of corned beef came from. Perhaps I had a bad experience with it at one point in time and have blocked out the memory, leaving nothing but negative feelings and a gag reflex. Or perhaps just because we were not served corned beef as children, I therefore have come to believe that I do not like it. I am really not sure, but what I do know is that I have been avoiding it for 26 straight years.

This year though, I received a formal request for corned beef. I have to admit, my husband (knowing my dislike) was pretty sly. He submitted it the Monday before St. Patrick's Day from the safety of his office, while I was cruising some 35,000 feet above land. He embedded his plea at the very bottom of an email as if it was nothing and in hopes that I would not really notice with all the other items he had rattled off before reaching his real point. He simply asked "Will you please make corned beef on Thursday?" Had I not been harboring feelings of slight guilt for leaving him home alone and stuck working long days and even longer nights, while I jetted down to Florida for a family event, I probably would have said no. But my guilt was still lingering and I found myself at Whole Foods picking out my least favorite meat.

Having never eaten more than a bite of corned beef, let alone made it, I felt a little overwhelmed by the task at hand. I read through several recipes and took ideas from each to create our feast. The first thing I realized was that nearly every recipe called for the meat to brine for a minimum of a week. It was already Monday, and the dinner was expected to be served on Thursday, so 3 days would have to work this time. To create my brine I boiled a large pot of water with an ungodly amount of salt and about 1/2 a cup of brown sugar. Once the water had begun to boil, I added in peppercorns, cloves, all spice, and about 6 bay leaves. After the salt and sugar had dissolved, I then removed the pot from the heat, and began adding ice cubes until it returned to room temperature. From here I simply added my meat to the pot, covered it and threw it in the refrigerator for the next 3 days.


On Thursday, the real fun began. I removed the meat from the brine and trimmed off the majority of the fat. I then placed the meat in a dutch oven and covered entirely with water.


To the pot I added a can of Ale beer, a handful of cinnamon sticks and bay leaves, red pepper flakes, black pepper, and cloves. I then chopped up an onion and a half and threw that into the pot as well.


I brought the pot to a boil and then reduced the heat and let it boil for the next six hours, adding a little more water as needed.

Towards the end of those six hours, I chopped up my carrots and potatoes to later be baked with the beef.


I also mixed up my rub for the meat. I combined 1/4 cup of brown sugar, a little bit of mustard powder, ground cloves, ground ginger, sea salt and freshly cracked black pepper. I mixed those together and set aside until the meat was ready for the oven.


Meanwhile, I boiled the potatoes and carrots so that they would be soft and just need to crisp up in the oven.


Once the meat was extremely tender, I transferred it along with all of the onions into my baking pan. I covered the meat with the dry rub and surrounded it with the cooked potatoes and carrots. I seasoned the vegetables with sea salt, black pepper and a little bit of onion powder, before placing in a 325 degree oven.


I let the meat and vegetables bake for about 25 minutes or until the potatoes and carrots were crisp and golden.


After allowing the meat rest for several minutes, I let the husband join in the fun and thinly slice the meat. Note: I also removed the excess dry rub from atop of the meat before serving. I found that it was a little too sweet for my liking. In the future, I will probably make only about half of the rub. Although tasty, I wanted a more savory dish and found the rub to be just a tad too sweet.


I served my first ever corned beef along with the onions, carrots and potatoes and zucchini bread (recipe below).


Much to my surprise the husband requested zucchini bread with this meal instead of the more traditional Irish Soda Bread. I was happy to oblige him, especially since it was quick and easy to make and left our whole condo smelling wonderfully of cinnamon (I used the Joy of Cooking recipe, but added whole wheat flour).

To make the zucchini bread first grate 2 medium sized zucchinis.


Combine 1 cup of flour, 1/4 cup of whole wheat flour, 1 teaspoon of baking powder, 1 teaspoon of baking soda, and 1/4 teaspoon of cinnamon in one bowl.


In a large bowl, combine 3/4 cup of sugar, 2 eggs, 1/2 cup of vegetable oil, 1 teaspoon of vanilla, and 1/2 teaspoon of salt.


Slowly add in the dry ingredients and mix until completely blended. Add in the grated zucchini and pour into a greased loaf pan. Bake at 350 degrees for 45 minutes.


I have to say that I think my first corned beef was actually a success! I had feared a total disaster and had even planned a back-up meal just in case. But I was pleasantly surprised with our St. Patrick's Day feast, and even found myself enjoying the food rather than wishing it was some other holiday. Although I do not think I will make corned beef throughout the year, I know we have now started a new St. Patrick's Day tradition; one that will make my grandmothers, both Ryan and Moriarty, proud every March 17th from here on out. And I know my husband is pleased that his wife is now willing to make one of his favorite meals.


And just because it is March Madness and in my blood GO IRISH! Take us to the final four!

Wednesday, March 2, 2011

For Mrs. Bennett

One of my all time favorite people called me last week with a dilemma. She said that after she gets home from a long day of work her husband never fails to ask what she is making for dinner. Her response to him? "You can microwave just as well as I can, honey." She told me that she needs an easy dinner option, preferably chicken, that she can throw together after work and does not involve the use of a microwave. I believe her request also included that I not use the word "mince" or "any other fancy cooking terms." So for my all-time favorite Lenexa couple, here is a very simple chicken dish that will please the taste buds of both 30 year old men and 3 year old boys (it has been Adam taste-tested and approved), and I promise, there is nothing fancy about it.

What You'll Need:
1 package of boneless skinless chicken breast
Flour
1 Egg
Milk
Panko Crumbs
Dijon Mustard
Honey
Black Pepper
Salt
Cayenne Pepper (optional)
Paprika (optional)

Step 1: Preheat the oven to 400 degrees. Slice the chicken breasts into strips. They do not have to be uniform, so don't worry about that.

Step 2: Put a little flour seasoned with salt, pepper and Cayenne pepper in one bowl. In another bowl, beat one egg with a tiny bit of milk. In a third bowl pour about a cup of Panko crumbs.


Step 3: Place each piece of chicken in the flour bowl and cover. Next coat it with the egg mixture and finally cover it with Panko crumbs. Place in a pan or on a cookie sheet and repeat until all of the chicken has been breaded.


Step 4: Bake for 20-30 minutes (depending on the thickness of the chicken), flipping halfway through, until the chicken is fully cooked and the Panko is beginning to brown.


While the chicken is cooking, quickly stir up a very easy at home honey mustard sauce. Start with about 2 tablespoons of Dijon Mustard. Add to that about 1 tablespoon of honey. Season with a little sea salt, fresh ground pepper and paprika (if you like a little kick to your honey mustard). This is literally a taste and see kind of sauce, so once all the ingredients have been mixed together, take a taste. If you want it a little more sweet, add more honey; a little more tangy, throw in more mustard. Literally, season to taste until it meets your requirements with the salt, pepper and paprika. You absolutely cannot go wrong, so have no fear.


Once the chicken is done, serve it with any sides of your choosing and the honey mustard sauce. I served it with rice, sauteed spinach and a little lemon poppy seed bread that I had made earlier in the day. But feel free to make it with potatoes, salad, or any vegetable of your liking. Again, you cannot go wrong!


And Brad, you can even tryout your mad microwaving skills on the leftovers the next day. Happy cooking! See you both in 3 weeks!

Tuesday, February 15, 2011

Something with Pumpkin for My Valentine

It was five years ago that I made my then boyfriend, now husband, pumpkin cookies. I think at the time he was a little skeptical of what pumpkin was doing in a cookie. Apparently, up until that point in his life, pumpkin came out only once a year and in the form of a pie, never a cookie (unless of course it was a pumpkin for carving). He tried my pumpkin cookies though, and after just one bite declared his love for those pumpkin cookies, crowned them King of all cookies and now request them throughout the year regardless of the number of months that separate us from Thanksgiving. Five years ago, I had no idea that I had created a monster, a pumpkin loving monster, who over and over again request “something with pumpkin” whenever I ask him what he would like for a particular occasion.  
As Valentine's Day rolled around this year, I knew I wanted to make him a very special meal, one that would show just how much I love him and how thankful I am that he is my Valentine, not just on February 14th, but every day of the year. But when I asked him if he had any special request for his Valentine’s Day dinner the only thing I got out of him was “something with pumpkin.” No decadent chocolate soufflĂ©, no chocolate candies in the shape of hearts, nothing that had anything to do with romance, love or anything Valentine’s Day related. He wanted pumpkin. I should have suspected as much seeing as how on his last birthday he did the same thing and requested a Pumpkin Cake rather than a traditional birthday cake (darn those pumpkin cookies). But no, I was caught off guard once again and needed to come up with “something with pumpkin” that was worthy to follow the beef tenderloin with red wine mushroom sauce, mushroom risotto, broccoli and rosemary bread dinner that I had planned for that evening. 


We didn’t need another course added to our meal, so pumpkin soup was a no go. I was already planning on mushroom risotto, so pumpkin risotto wouldn’t work. Dessert was the only course remaining that I could squeeze in something pumpkin. I couldn’t make pumpkin cookies though, they were already made too often and just not elegant or special enough for this occasion, no matter how tasty they were. Pumpkin Pie was out of the question, it just didn’t feel right. I had already made Pumpkin Cake with Maple Frosting for his birthday and really did not feel like repeating myself. So in desperation I turned to my favorite culinary reads and once again was not let down. Fine Cooking provided me with the perfect “something with pumpkin” recipe that was elegant, simple to make and added the perfect touch to our Valentine's Day's meal: Pumpkin Cake with Sage. 


I started off by combining all of the dry ingredients into one bowl: flour, baking powder, ground ginger and salt.


Next, I melted a stick and a half of butter and freshly chopped sage in a small sauce pan.


Once the butter mixture had cooled, I combined it with a cup of sugar, a cup of brown sugar, fresh pumpkin puree, 3 eggs and a splash of vanilla. 


Next, I gradually added in the flour mixture and stirred until combined.


Finally, I scrapped the batter into a greased bundt cake pan and baked at 375 degrees for about 45 minutes. 


Once the cake had cooled, I removed it from the pan and decorated with with fresh leaves of sage. 

Although completely unexpected, this "something with pumpkin" was a great addition to our Valentine's Day. I had been worried that a pumpkin dessert would not be special enough on the day ruled by chocolate and I really wanted to make the perfect dinner for my very deserving husband. So as he took his first bite, I watched in great anticipation. My Valentine fell in love though and said it was even better than his pumpkin birthday cake. He is somehow already trying to determine when he can request this cake again... Memorial Day, 4th of July, some random day in March? In the meantime though, he has plenty of leftovers to keep this Valentine's Day going for the rest of the week. 

Happy Valentine's Day to all! And to my Valentine, thank you for being mine. 

Wednesday, February 9, 2011

Super Stitions, Super Meal, Super Bowl

I have a somewhat superstitious husband. If one of his teams loses while he's wearing a particular shirt, he won't wear it again for the rest of the season (sorry "baby blue Malkin", so long "6th Seed"). If a game's unfolding poorly, he'll quickly switch seats, and trust that by doing so, he'll have some direct, karmic influence on the outcome. During Steelers games, he's particularly intense. He nervously clenches, then furiously waves his ratty, and increasingly misshapen Terrible Towel. And, for some bizarre reason, he refuses to wash it until the end of the season. By Week 17, the thing is disgusting ... you seriously have no idea. A season's worth of sweat, sauce and saliva, all stained on a faded yellow rag. I have contemplated sneaking it into the wash before, but always decide it's just not worth it. So last week when I was asking him to submit his request for his Super Bowl meal, he reminded me that two years ago I made pulled pork sandwiches for the Super Bowl and what happened? The Steelers won their sixth ring. So obviously I would be making pulled pork sandwiches again this year to ensure the Steelers their seventh title. My pulled pork was 1-0, and you just don't mess with a winning combination.

So for Super Bowl Sunday, after all food requests had been submitted, this was our menu:

Appetizer (to be served during the 1st quarter): Mushroom and White Cheese stuffed Pierogies
Main Course (to be served at halftime): Pulled Pork Sandwiches and coleslaw
Dessert (to be served during the 4th quarter): "Black and Yellow" Ice Cream Sandwiches 


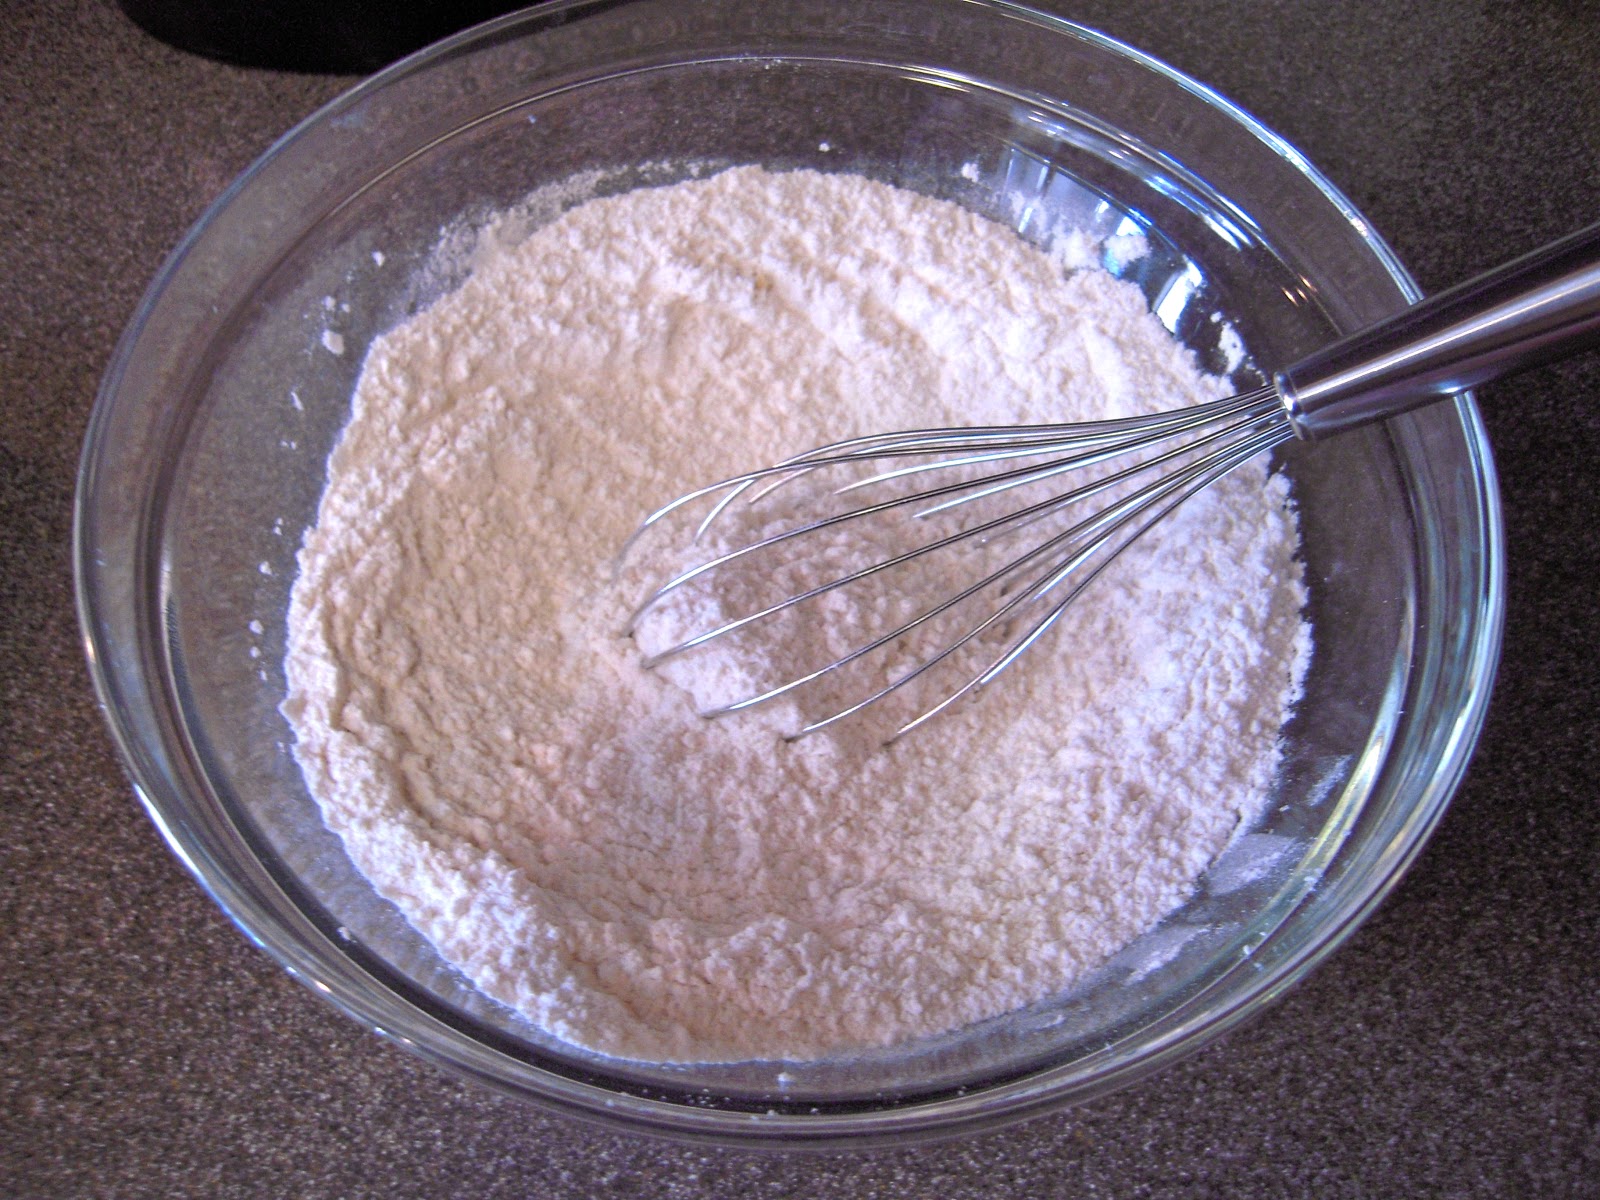
I had never made pierogies before, so I was anticipating a challenge with our appetizer course. I started off by making a basic pierogi dough. I combined 3 1/2 cups of flour, 3 eggs, a little bit of sour cream and about 1/2 a cup of water into a large bowl. After stirring the ingredients together, the dough was still dry and flaky, so I gradually added another 1/2 cup of water until the mixture came together.


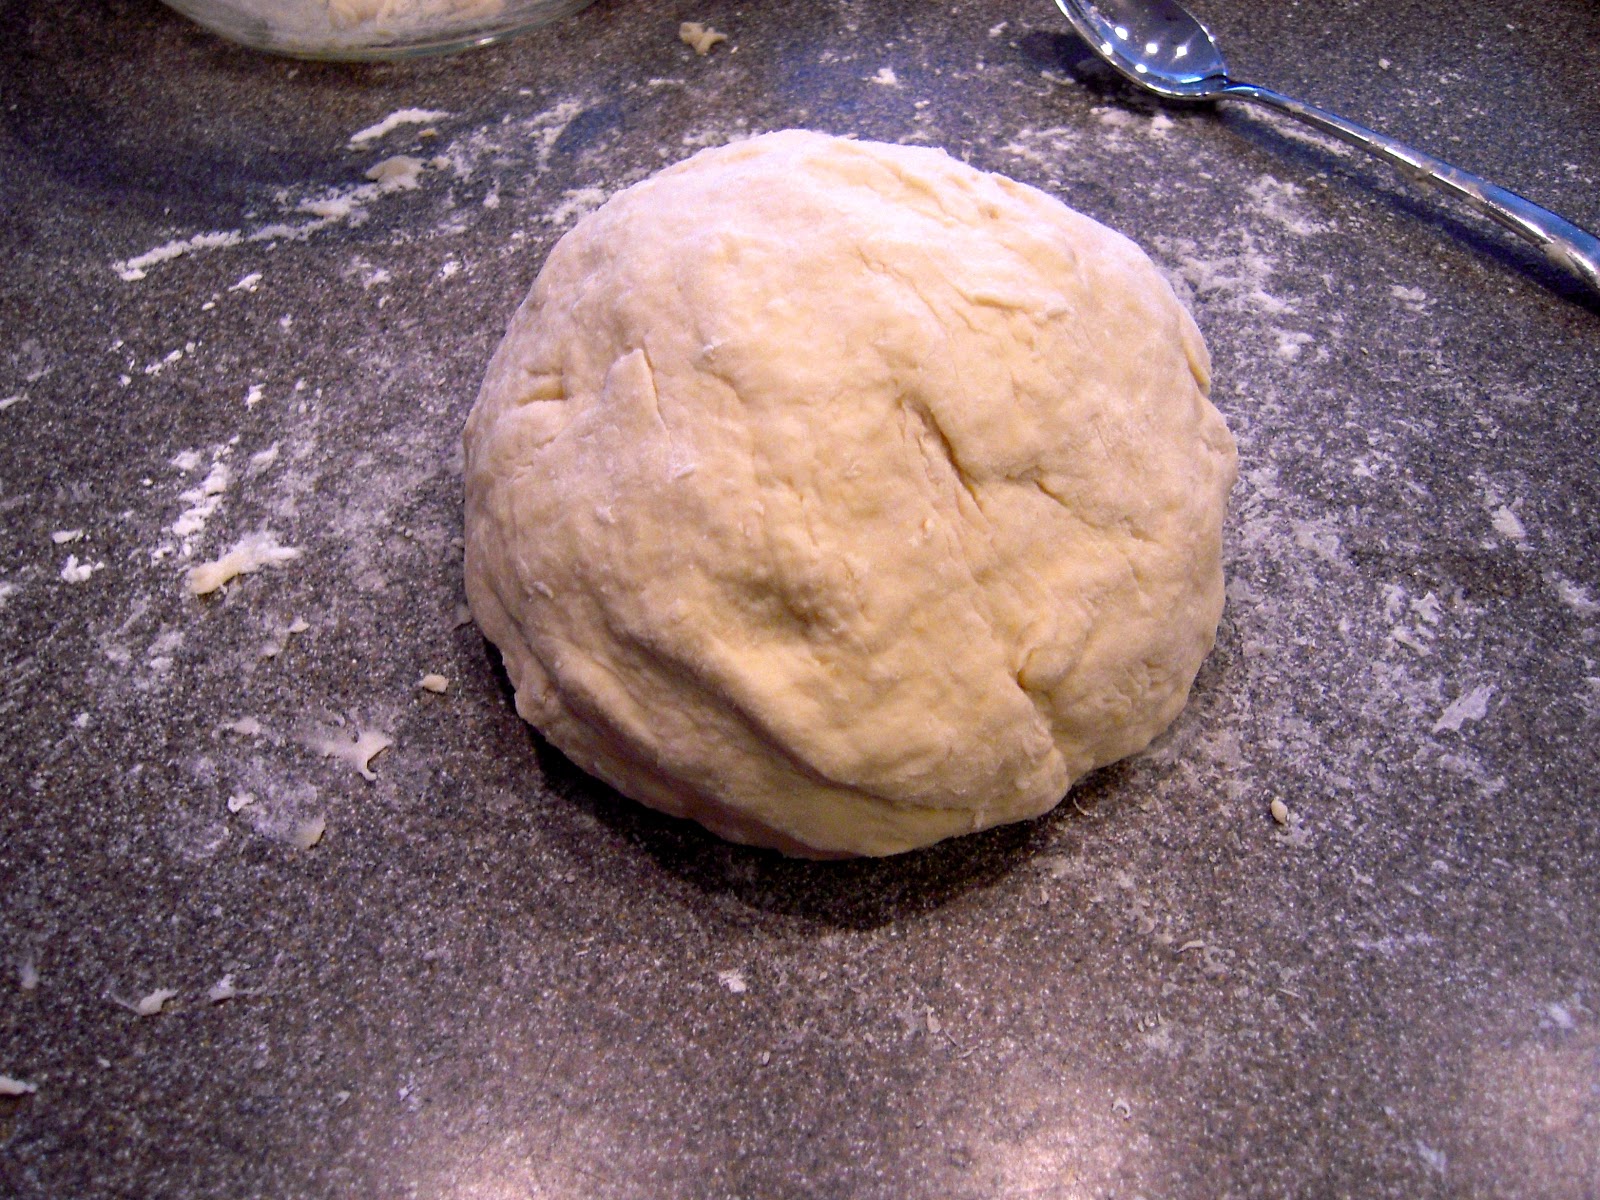
Next, I floured the counter top and began to knead the dough. I continued doing so until it was smooth and only slightly sticky (which should take no more than five minutes).


I wrapped the dough in plastic wrap and left it on the counter to rest for about 20 minutes. In the meantime, I got a head start on the pork by preparing a dry rub.

For my rub, I wanted something full-flavored with a touch of heat. I combined brown sugar, Hungarian paprika, cayenne pepper, salt and black pepper in a small bowl.


Next, after trimming off a little bit of the excess fat, I coated the pork with the rub until it was completely covered.


 I then sautĂ©ed an onion in the dutch oven before adding in the pork. 


Next, I added about 1/3 cup of Apple Cider vinegar, a little bit of tomato paste, Worcestershire sauce, Dijon mustard and about 1/2 a cup of barbecue sauce. At this point, all the hard work was done and there was nothing left to do but allow time and low heat to work its magic.


Once the meat was cooking away, it was time to whip up the filling for the pierogies. I was not a huge fan of the idea of (the more traditional) potato-filled pierogies (wrapping one starch in another seemed a tad excessive, and a bit filling for a mid-evening appetizer). Since my husband agreed to trying something a little different, I decided to go with a mushroom and cheese filling. I began by cleaning and chopping up a whole package of mushrooms. I sautéed those just until soft.


I then shredded about a cup of aged white cheddar, which we picked up at Milwaukee's MetroMart. 


I combined these two ingredients into a bowl and seasoned them with a little black pepper, salt and onion powder, then set aside until it was time to fill the pierogies. 


I then set off to roll out and shape my pierogies. This would have been the perfect opportunity to break out my new pasta machine that I got for Christmas, but I kept thinking to myself that I could handle this all on my own. Well, I could, and I did, but because of this, my pierogies ended up a little on the large side. Next time, I think I'll try the pasta machine and see if it makes a difference.

To shape the pierogies, I took about a tablespoon or so of dough rolled it into a ball and then rolled it out on a floured surface into the best circle I could with a rolling pin (be sure to cover the finished dough with a towel to avoid drying out). I did this over and over again until all the dough had been used.


It was finally time to fill the pierogies. I did so by taking a spoonful of my mushroom and cheese filling and placing it in the center of the dough. 


I then folded it in half and enclosed the edges by pinching the sides together. I repeated this step until all of the pierogies had been filled and sealed.


When Christina Aguiliera forgot the words to the National Anthem, I took it as my cue to cook the pierogies. To do so, I brought a large pot of water to a boil. Once it was fully boiling, I added in the piergoies and allowed them to cook until they had been floating at the top of the water for about 4 or 5 minutes. 


After all of the pierogies had been removed from the water, I heated up a little bit of olive oil in a sautĂ© pan. I wanted my peirogies to have a little bite, and a nice outer crisp, so I sauteed them for a few minutes, before finally seasoning them with a little bit of black pepper, and serving them to my ever so anxious husband. 


And.... they were a hit! Although Adam said so with a little bit too much of surprise in his voice, I knew they were a success when there were no leftovers. Sautéing them added a wonderful texture and the white cheddar provided a rich flavor that really made the filling stand out. The only thing I need now is to master is how to make them a little bit smaller!


Throughout the course of the day, I had been checking on the pork and stirring it as needed. By the time the Black Eyed Peas were warming up their mics (and dusting off their Light Bright shoulder pads), the pork was juicy, tender and already falling apart. Adam asked me if I needed him to shred the meat, but the job was basically done and with very little effort. As soon as I would pick up a piece of pork with the tongs, the meat would literally fall apart. Perfect!


I toasted the buns, topped them with a heaping serving of pulled pork, plated up the coleslaw that Adam made, and got ready to enjoy a less than glamorous halftime show.


By the 4th quarter, it looked like the Steelers would complete their comeback, and it was time to prepare the final course of our meal. Earlier that morning I had whipped up a batch of my favorite Double Chocolate Chip cookies for the"sandwich" part of the ice cream sandwiches. I loaded them up with a generous amount of vanilla ice cream and then rolled the edges in yellow sugar to complete my fabulous "Black and Yellow" ice cream sandwiches. 


Although the outcome of the game was not what we had hoped for, the meal was even better than expected. The pierogies were a great first time attempt and even impressed a Pittsburgh native; the pulled pork was bursting with flavor and could not have been more tender; and the ice cream sandwiches were the perfect comfort as the game came to a very disappointing, and anticlimactic end. Knowing my superstitious husband though, I can't imagine he will be requesting this meal the next time the Steelers play in the Super Bowl, but I  have no doubt that all three of these courses will be made again. We will just have to wait until next year for that seventh ring. 

Thursday, February 3, 2011

Vegetable Casserole

Eating takes on a whole new meaning when pregnant. I am constantly trying to come up with meals that don't make me want to gag, provide good nutrients for the baby and do not show up on the dreaded "do not eat" list. I've read in several books that by this point in my pregnancy, the baby has already developed his or her taste buds. Meaning the foods I eat from here on out will not only play a huge role in the health and development of my baby, but can also help determine what types of foods the baby will be inclined to eat once he or she is born. Upon learning this my first thought was of vegetables and how I could incorporate as many possible varieties into all of my meals (Adam's first thought was, "Eat as much meatloaf as possible!"). So, in an attempt to get this kid on a healthy eating track I decided to try out a new vegetable casserole with a little help and inspiration from my good friends at Food and Wine.


Pregnancy friendly dish #1: Vegetable Casserole


Ingredients:
Olive Oil
1.5 lbs of zucchini
1.5 lbs of eggplant
1/2 of an onion
1 lb of tomatoes
Blend of Italian Cheeses such as Parmesan and other pasteurized hard cheeses (the original recipe called for feta, but soft cheeses such as feta are on the "do not eat" list for pregnancy - a blend of hard Italian cheeses are a great substitution)
Fresh basil
1/3 cup of panko crumbs
Salt and pepper to taste


First preheat the oven to 425 degrees and prepare the ingredients by slicing both the eggplant and zucchini lengthwise. Make sure to slice them approximately 1/3 of an inch thick. If you slice them too thin (as I did with a few of mine) they will brown too quickly in the oven and will not hold up as well in the casserole. Once the eggplant and zucchini have all been sliced, lay them on an oiled baking sheet and season with olive oil, salt and pepper. Bake until soft or about 10-15 minutes.


Next, chop up all of the tomatoes and dice up 1/2 of the onion. Heat a bit of oil in a large pan. Add the onion and allow to soften for a few minutes. Next add in all of the tomatoes and allow to cook until the tomatoes soften and the sauce begins to thicken. Season with salt and pepper.


Once the eggplant and zucchini have been removed from the oven, it is time to begin layering the casserole. Start by using half of the eggplant in the bottom of the pan. Next spread part of the tomato sauce on top until there is a nice coating over the eggplant. Sprinkle with chopped basil and the Italian cheeses. Next add a layer of the zucchini and then another layer of tomato sauce and basil. Add the rest of the eggplant and zucchini and top it off with the last bits of tomato and cheese. Finally, in a separate bowl, mix the panko crumbs with a tablespoon or so of olive oil and sprinkle over the entire casserole.


Bake at 425 degrees for about 20 minutes or until bubbling. 


Serve with a lean protein like chicken for the perfect pregnancy friendly meal. I went with an easy roasted chicken that I seasoned with oregano, basil, onion powder and a little garlic salt and cooked until crisp and juicy.


This casserole can also be a great lunch or snack and heats up wonderfully the next day. It is one that mom and baby (and its meatloaf-loving dad) can enjoy.


Here are a few benefits for both mom and baby founds in theses ingredients:


Eggplant - a good source of fiber, Thiamin and Vitamin K. Also very low in saturated fat and cholesterol.
Zucchini - provides folate, potassium, and vitamin A as well as an extensive list of minerals. 
Tomato - a great source of Vitamin C which aids in tissue repair and fiber which aids in digestion. All vital to overall pregnancy health. 
Cheese - 1 oz provides about 300 mg of calcium which is crucial for the development of strong bones as well as muscle, heart and nerve development. Also a good source of vitamin A and D.
Olive Oil - a good source of monounsaturated fat (the good fat!). Heart healthy for both mom and baby.
Chicken - 4 oz gives about 25 grams of protein which plays a huge role in the growth of the baby. Also a good source of vitamin B and iron. 


To find further nutritional information visit the United States Department of Agricultural website.